
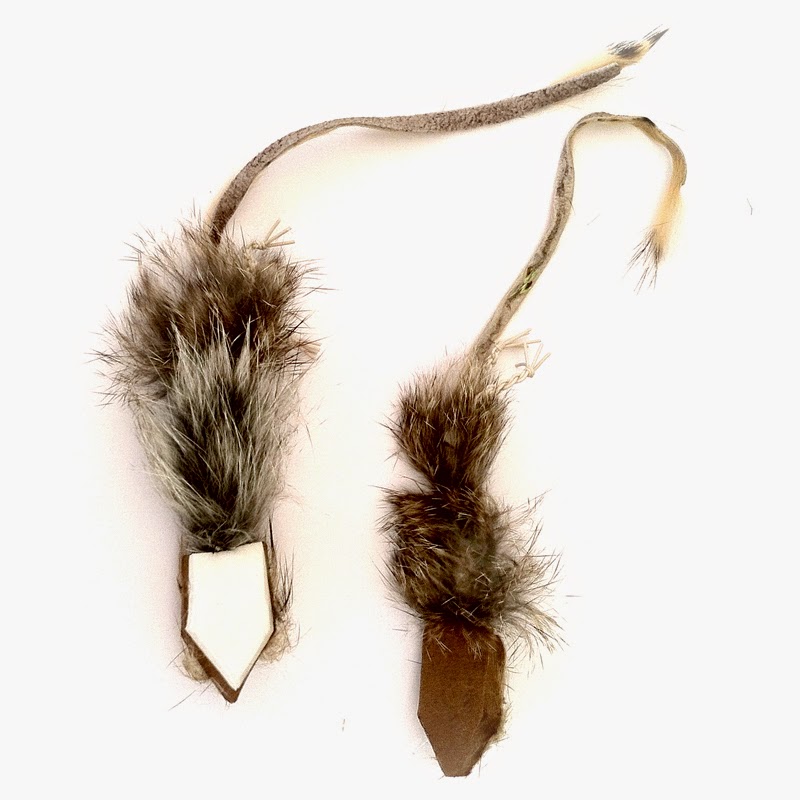


The Movement
Once a mouse falls or climbs into the water they do not stop swimming. The motion is pretty constant and yet it has a very erratic look. Here is a short video that shows the quick motion of the torso, which results in a "swimming tail" look. The tail wiggles back and forth as a result of the kicking legs.
The Legs
When mice swim, their hind legs serve as the motor. A mouse's hind legs are far more powerful than their front legs, and they rely heavily on them when in the water. The hind legs extend past the mouse's rear while swimming. One shoots out, then the other in rapid succession.
There are some excellent mouse patterns out there, a couple of which I think are prime for certain circumstances, but I'll get more into that in my night fishing/mousing tactics post later. Most patterns are either cut from rigid deer hair (no inherent movement), lack legs, are restricted to one hook, or lack the ability for the tail to "swim". As I did research, trying to make this the #yearofthemouse I came to realize with some tweaks I could develop a pattern that better fit my needs. Enter the ArtiMouse.
The ArtiMouse is so named because of the added articulation. I initially thought about calling it the Artimus (mus being Latin for mouse, and it made me think of Maximus from Gladiator), but thought the simpler title might be more accessible. It is a super simple tie with only a few ingredients. I think the key differences with the Arti-Mouse from the patterns considered to be staple mouse flies are the angle and buoyancy of the head, the added legs and way they are tied in, the little bit longer tail, and lastly the articulating torso.
How To Tie The ArtiMouse
UPDATE 8/23/14 : I have been working with a new stinger hook version and have decided that I like it much much more, though it is just a bit more involved to tie. I produced a second video to show the modification.
Ingredients:
Hooks: 4x Streamer hook Size 2, and Size 2 Gamakatsu Octopus hook
Head: Six 2mm foam sheets (or whatever the heck the thickness of that cheap craft foam is) layered and glued together with spray adhesive. Cut into 1"x3/4" pieces for individual heads. A round, pointed popper head of similar size would work as well, just as long as it was attached at a 30ish degree angle to the hook.
Body: Rabbit strip (whatever color you prefer and think matches your local field mice... brown, gray, white, tan, black, etc...)
Legs: Medium Round Rubber Legs - 4 strands furled together - (tan, pink, white, black, or brown)
Tail: Rabbit strip, or Chamois towel (gives much more movement, but can tangle around the hook a bit more). If you want it short, tie it short, but I prefer mine to be at least 4".
Optional Glow: A small glow in the dark corkie can be cut into halves and one half can be glued to the nose of the fly. I say the "nose" because of the angle the fly sits in the water. I suggest placing the fly in the water, attached to some line and pull the fly slowly so you see where it needs to rest. The idea is so the fish can't see it so well, but you can when retrieving it. If you place it on the top of the head it will disappear from your view when you retrieve it (learned that one the hard way). Glow in the dark flashabou can work as well.
Fly Tying The Artimouse Mouse Fly from Chris Cutler on Vimeo.
Fly Tying the Artimouse with a Stinger Modification from Chris Cutler on Vimeo.
The reasoning behind the design...
The Head: I chose foam because of it's ease. No need for fly floatant and no drowning fly. Popper heads would have worked great I'm sure, but for the money and ease of access the craft foam sheets were a good choice. I have also heard of people using or buying cheap/old flip flops to make popper heads. (9/10/2017 Edit: For the past three years I have come to solely use cheap flip flops. They are cheap, require no gluing, and make the whole process much simpler.) Craft stores often have cheap pairs for 1$ each, something to consider. The reason for the angled attachment to the hook is that mice create a V-shaped wake from their pointy head sticking up out of the water. The angled foam head mimics this wake.

The Body: I prefer rabbit fur because of it's inherent motion. It requires very little movement to actually look like it is moving. Also, in water it flares out and creates a bulky profile. This is also an advantage when casting because it becomes narrow and slicked down when out of the water. The one drawback is that in very fast water it gets narrow also, but even then I have had success swinging the fly.
The Legs: Most patterns have legs in odd areas, or no legs at all. I placed the legs on the tail section, so they can "swim" with the torso and tail. They also add to the profile when dead drifting the pattern. In the initial tying video I mentioned that to furl them they are twisted in opposite directions. That was incorrect (oops, my bad, sorry). Both sets of two are twisted in the same direction. If you were having trouble trying to furl the legs, that may be why. (If you don't want to bother with furling, simply using a rubber band will work as well.)
The Tail: Rabbit strips with most of the hair trimmed off rarely wrap back on the fly itself and allow for a decent amount of movement. I tend to tie my tails a bit longer than most. I know that most mice have pretty short tails, but I feel the movement created by the added length adds to the fly's appeal. Strips of Chamois towel give a lot more movement, but can be more of a hassle because it can tangle back on the hook. (9/10/2017 Edit: I now tie my tails a bit shorter, usually about 3-4".)
Misc: When in the water mice swim like most animals, with their head out of the water for breathing and body mostly submerged. This is why I only wanted the head to float, to mimic that angled orientation in the water. It think it also gives a more realistic side-view of the fly.
I put together a short video to show how the Arti-Mouse looks in action in the water. It was a little tricky filming and casting at the same time, but I think it helps show at least a bit of the motion it has in the water. Wish I could say "fish included"... maybe next time.
The following are a couple pictures (borrowed for educational purposes) that help to see some of what I'm talking about.


So far this pattern has proven effective. It is the result of quite a bit of testing and a handful of prototypes. I may make some variations or changes eventually, but so far this has done the trick. Give it a try and let me know if you have any luck!
If you are interested in the pattern, but don't want to tie any up yourself, they can be purchased. Just send me an e-mail or a message on one of my other social media outlets for details. Thanks.
More details on how I fish it can be found in this post: "Mousing"


